Laserowe Heart Typewriter for Swedish House Crafts

Hi - I'm here with you today to share my latest DT make that is on the Swedish House Crafts Blog.
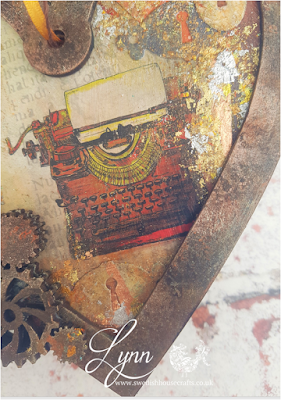
I decorated this Laserowe MDF heart banner with one of my favourite images of a typewriter from the Laserowe Vintage Gentlemen paper collection and I used a variety of paints, inks and gilding flakes to cover the mdf. Below I have taken some pictures to show the steps I followed.
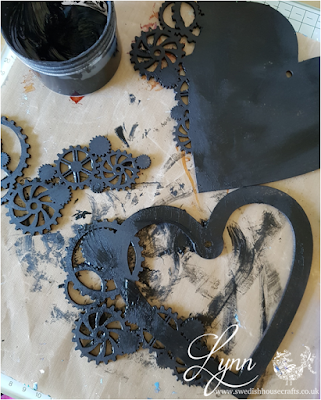
First of all I used black gesso to paint all the pieces. Even though some of them are going to be hidden, this way you can make sure you do not leave anything exposed when you assemble the pieces. Leave to dry.
I then sponged on various colours of acrylic paints and also I used some metallic ink pads brushed over parts of the mdf. You can use any paints you have. To achieve a similar effect to mine stick with golds, oranges, browns. I didn't cover the base of the heart - as you will see in the next picture, this is going to be covered with the papers.
I then took the image of the typewriter and some background paper from the Laserowe Vintage Gentlemen collection, and placed it where I wanted it to show in the frame. You don't need to be neat as the outer edges will be hidden. Place the outer frame over to ensure you have the image where you want it to be. To add interest I also cut out some keyholes using the Roxstamps keyhole dies. These are some of the most useful dies I have, they are particularly good for mixed media work. I used a sealant to stick and cover over all the paper.
I then added some gilding flakes (from my stash) and also onto the cogs that would be going on the top layer of the assembled piece.
Finally I threaded some ribbon and some twine together through the hole in the mdf.
Thanks for looking.
Links to products I used:


Comments